Sliding Gate Installation Guide
May 26, 2020When configuring your temporary fence, it’s important to think about all aspects of how it will function. Your Modu-Loc fence is intended for site security and containment. But does this mean it will be difficult for your workers to access your site? Not necessarily!
Modu-Loc fence systems include specific components to create pedestrian and vehicle access gates. Our gates can be placed anywhere in the fence line, allowing for flexible and effective control of site access.
One of the most popular gate set-ups is our sliding gate. Whereas a swing gate requires space for clearance, the sliding gate allows for vehicle and pedestrian access in tight areas. Sliding gates are a great option for maximizing site space and functionality. Double sliding gates are also a good option for saving space while providing a wider opening for large vehicles. The simple design of the sliding gate means it can be easily set up and operated by a single person.
Here is a step-by-step guide on how to set up your own sliding gate. You can also view our “Sliding Gate Guide Install Guide” video on YouTube!
Before You Start
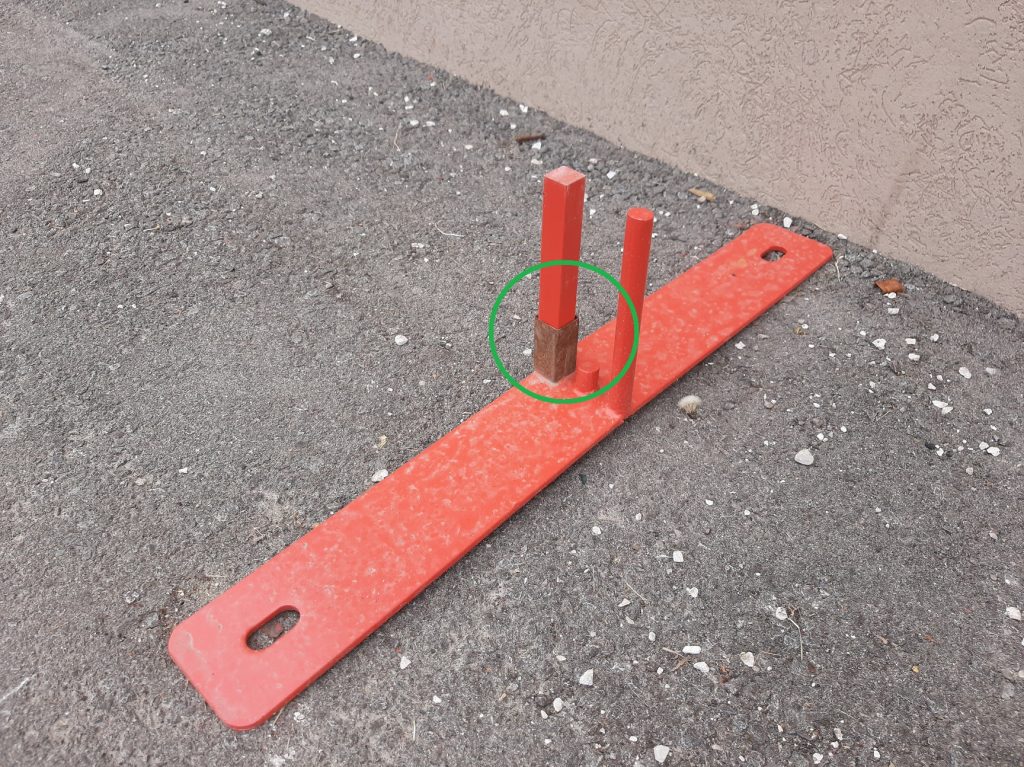
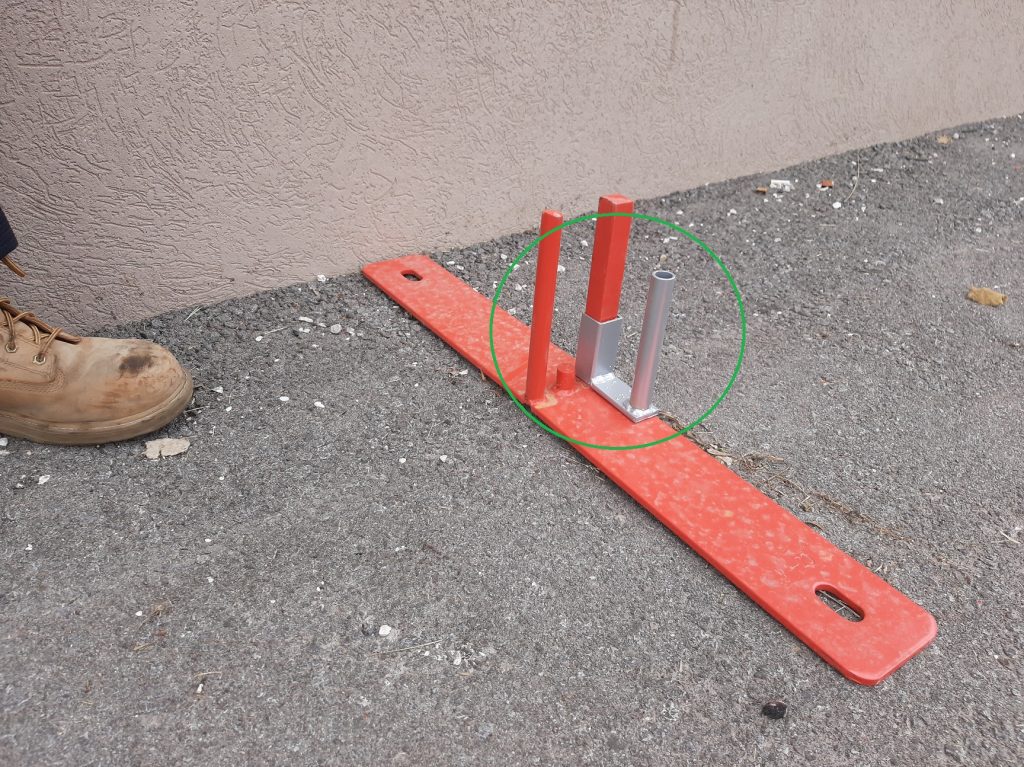
For a single sliding gate, you will need two gate wheels, a gate guide (circled) and a spacer. To be provided with these items, make sure to let your Modu-Loc sales representative know that you require gate components.

Step 1
Place the spacer on the square tube of the base where the gate will go.
Step 2
Place the gate guide on the square tube of the base at the opposite end of your gate opening. This will ensure the gate slides in a controlled fashion.
Step 3
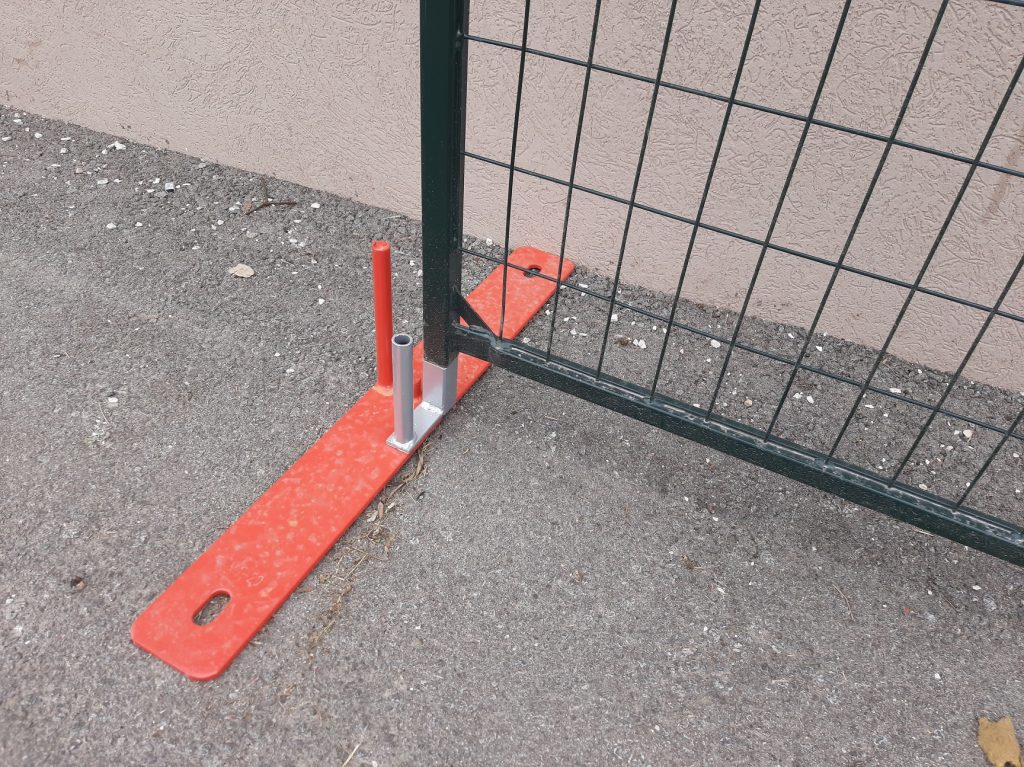
Place a fence panel onto the square tube with the spacer, and the square tube with the gate guide. Do not install the fence panel on the round peg of the gate guide itself.
Step 4
Slide another fence panel into the gate guide, between the square tube of the base and the round peg of the gate guide. This panel will be your gate.
Step 5
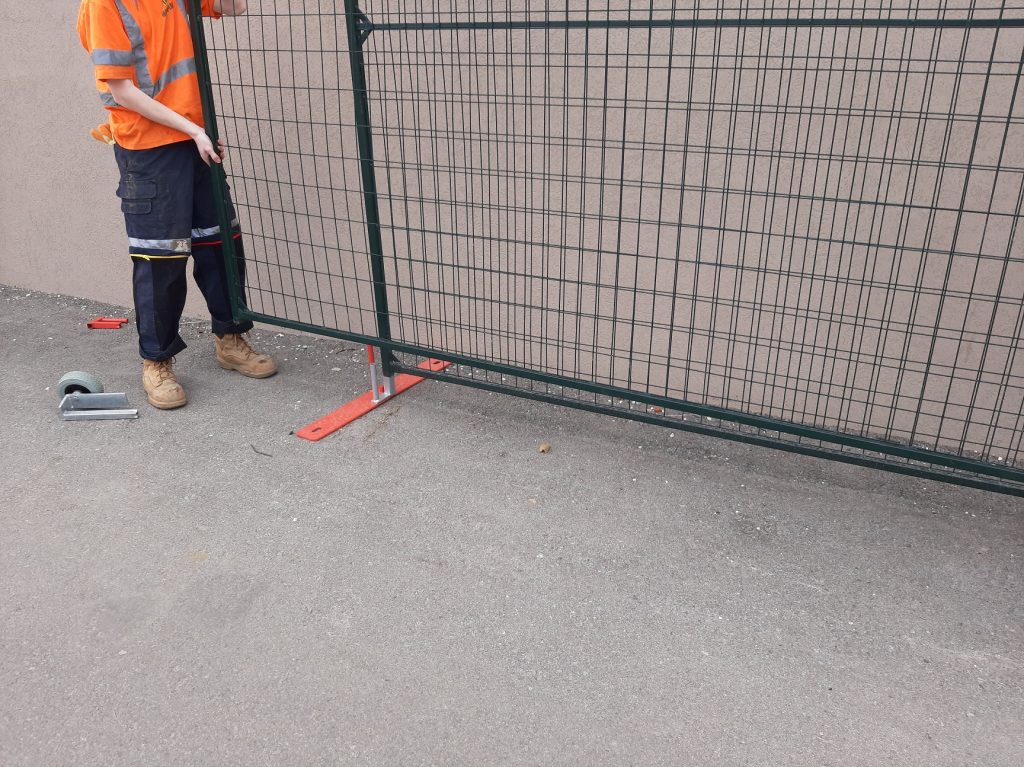
Insert the first gate wheel into the gate.
Step 6
Insert the second wheel into the gate at the opposite end. The last fence panel in the fence line should be nestled in between the wheel and the square peg of the wheel bracket. This will act as a guide for the wheel, and keep the gate on a fixed plane of motion.
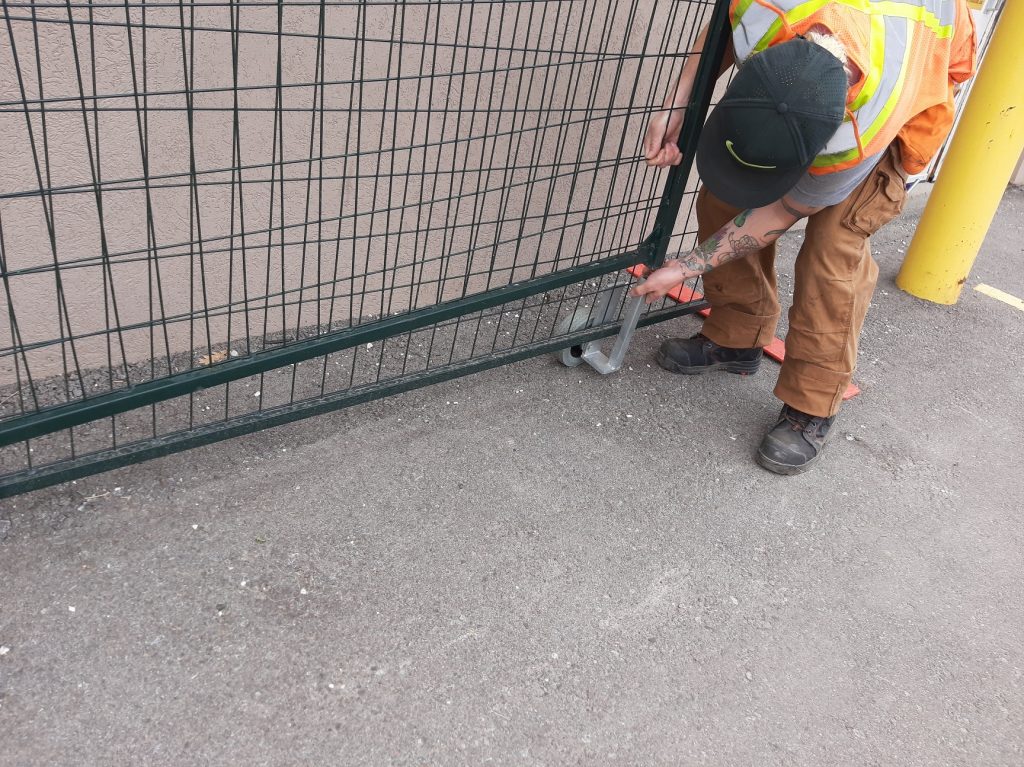
Step 7
Insert the square peg of a cap into the gate where it overlaps the last fence panel. The cap should be perpendicular to the gate, so that the round peg hangs over the last fence panel. This will act as a guide for the gate, and prevent it from tipping.

Step 8
Insert the square peg of a cap into the end of the last fence panel. The cap should be perpendicular to the panel, so that the round peg hangs over the gate. This will also act as a guide for the gate.

Step 9
If installing a double sliding gate, ensure that the wheels are facing opposite sides so that the two gates can overlap.

Finished!
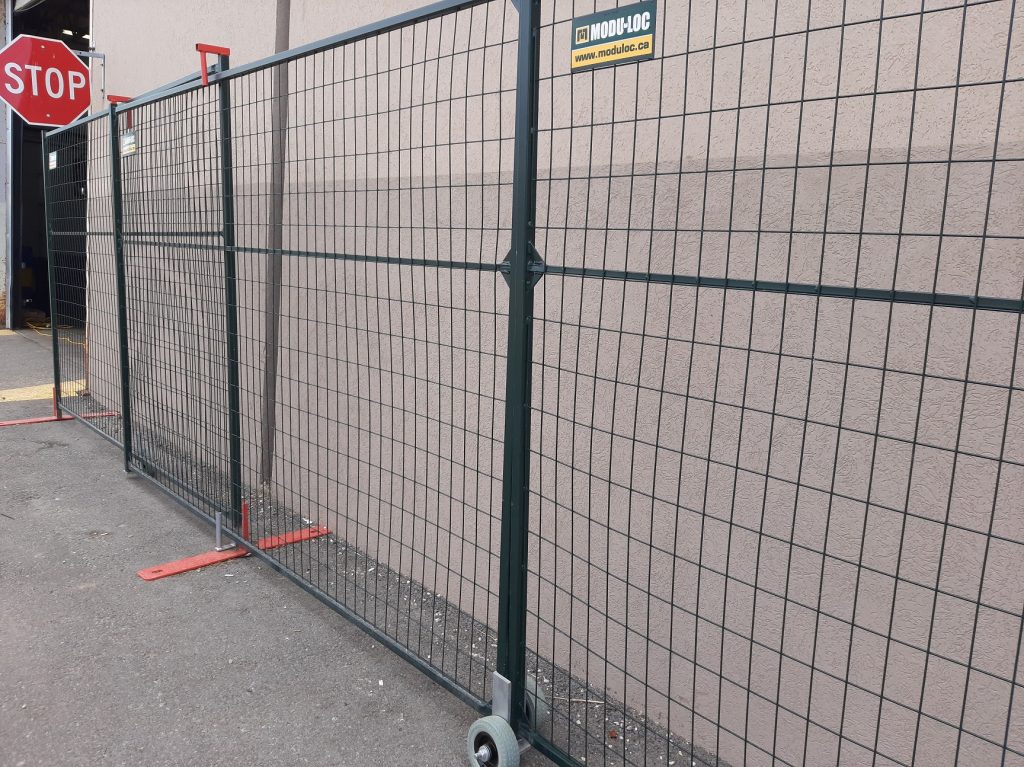
Success! Your sliding gate is now complete! You now have a simple access point to allow your personnel to enter and exit the site.
If you require any further assistance, please contact us.
We’re here to answer any questions you may have.


 Canada - EN
 Canada - FR
 United States
